Rethinking Arrow and Broadhead Performance
A NEW Series of Bowhunting Articles by the Ashby Bowhunting Foundation
Article 8: Factor 7 – Broadhead Edge Finish
Would you like to hunt with arrows and broadheads that give you pass-throughs on big game shot after shot? Would you like to have complete confidence in your arrows and broadheads to give you lethal penetration and reliable kills even if you hit bone? Of course, you would! Every serious bowhunter wants that kind of performance from their setup. Join us for Dr. Ed Ashby’s Top 12 Penetration Enhancement Factors.
After extensive testing, Dr. Ed Ashby identified twelve specific arrow penetration enhancement factors. He then ranked them in order of importance so that bowhunters would have a straightforward guide as to what they should build into their arrow and broadhead setups—and in what order—so they could create the most reliable and lethal setups possible.
To optimize your arrow and broadhead builds, it is recommended that you incorporate as many of the 12 Penetration Enhancement Factors as possible.
The seventh factor, edge finish, will be discussed today.
“When all else is equal there’s absolutely no question which type of edge finish makes a cut that bleeds the longest and most freely; it’s the one made by the thinnest, sharpest, smoothest edge. That’s a medical and physiological fact.” Dr. Ed Ashby
Note: Dr. Ed Ashby’s fine article, “Putting an Edge on Success” covers factor #7 so completely that we’re going to share sections of that article here to set the basic groundwork of the best edge profile for bowhunters. All sections that are in italics in this article are direct quotes from Dr. Ashby’s article. You will find a copy of the link for all the Ashby reports at the end of this article. All the works of Dr. Ed Ashby are found on the AshbyBowhunting.org website and are available free of charge to anyone.
Blade Edge Finish: Smooth, honed, stropped, razor-sharp edges increase penetration, allow more massive bleeding, and simply put, outperform all other types of edge finishes.
Edge Finish
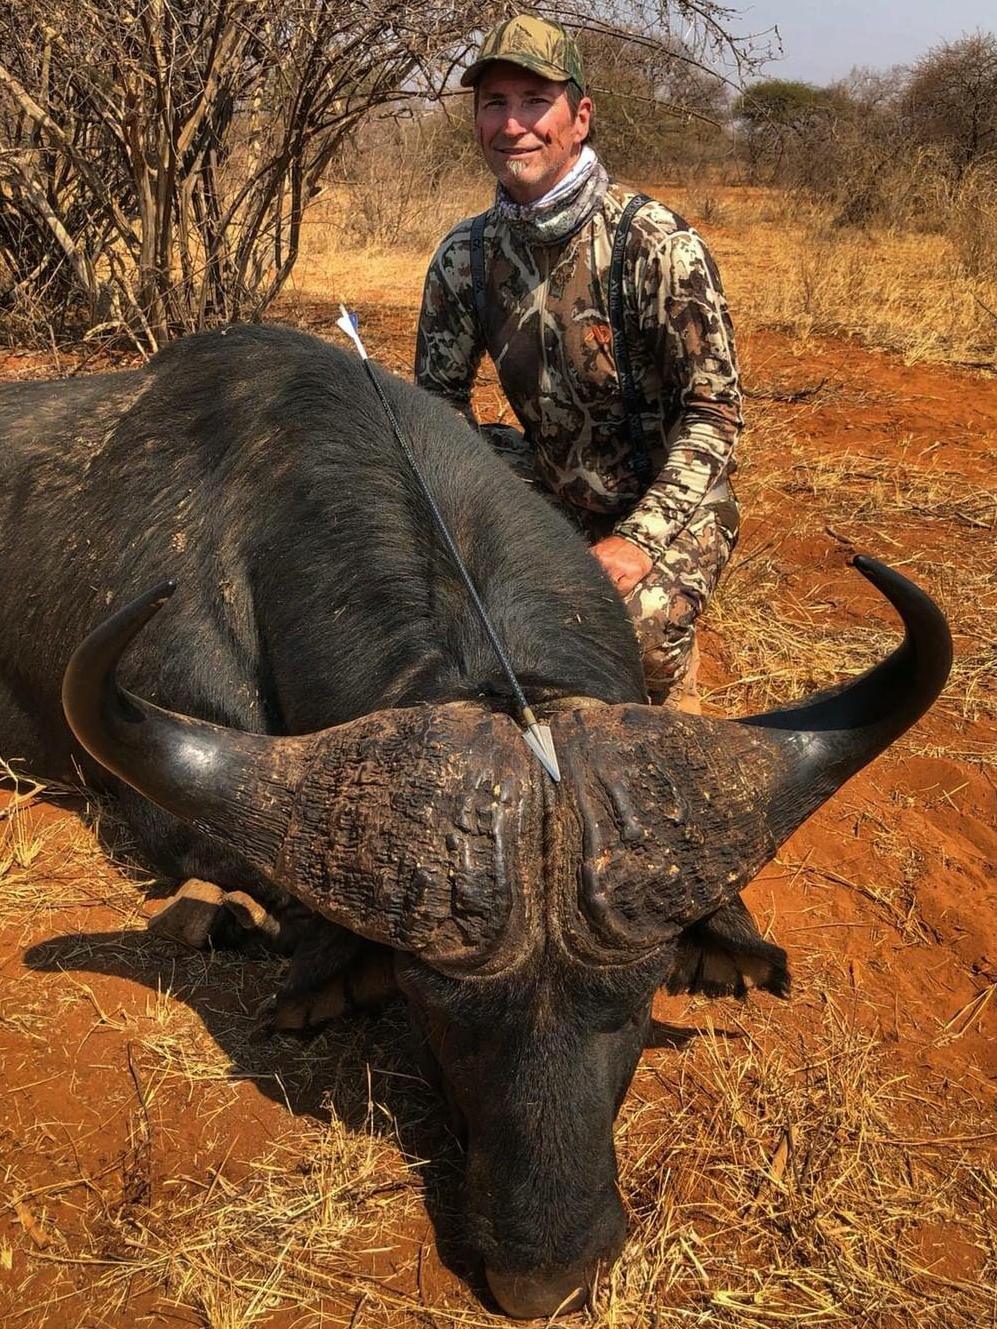
Let’s look first at edge finish. When all else is equal there’s absolutely no question which type of edge finish makes a cut that bleeds the longest and most freely; it’s the one made by the thinnest, sharpest and smoothest edge. That’s a medical and physiological fact. Why? Because the thinner, sharper and smoother the cutting edge, the less disruption there is to the cells lining the inner wall of each blood vessel cut.
First let’s consider a major advantage the ‘thinnest edge’ offers. In physics, the slope (the sharpening angle) of a broadhead’s edge bevel is a “simple machine,” an inclined plane. The lower the slope on the edge bevel, the higher its Mechanical Advantage. What does this mean? At equal ‘sharpness,’ and with equal pressure between the tissue and the cutting edge, the thinner edge will slice deeper into the tissue.
Let’s look at it another way: at equal ‘sharpness,’ the thinnest edge requires less pressure (force) to slice the tissue. Comparing a single-bevel edge sharpened at a 25-degree angle to a double-bevel edge sharpened at 25 degrees, the resultant sharpening angle would be 25 degrees for the single-bevel and 50 degrees for the double-bevel. This means that at ‘equal sharpness,’ the single-bevel has twice the Mechanical Advantage of the double-bevel—it cuts twice as efficiently.
Sharpest and Smoothest
Now let’s look at the “sharpest and smoothest” advantage. What does disruption of the blood vessel’s inner cell-lining have to do with the rate and degree of bleeding from a cut?
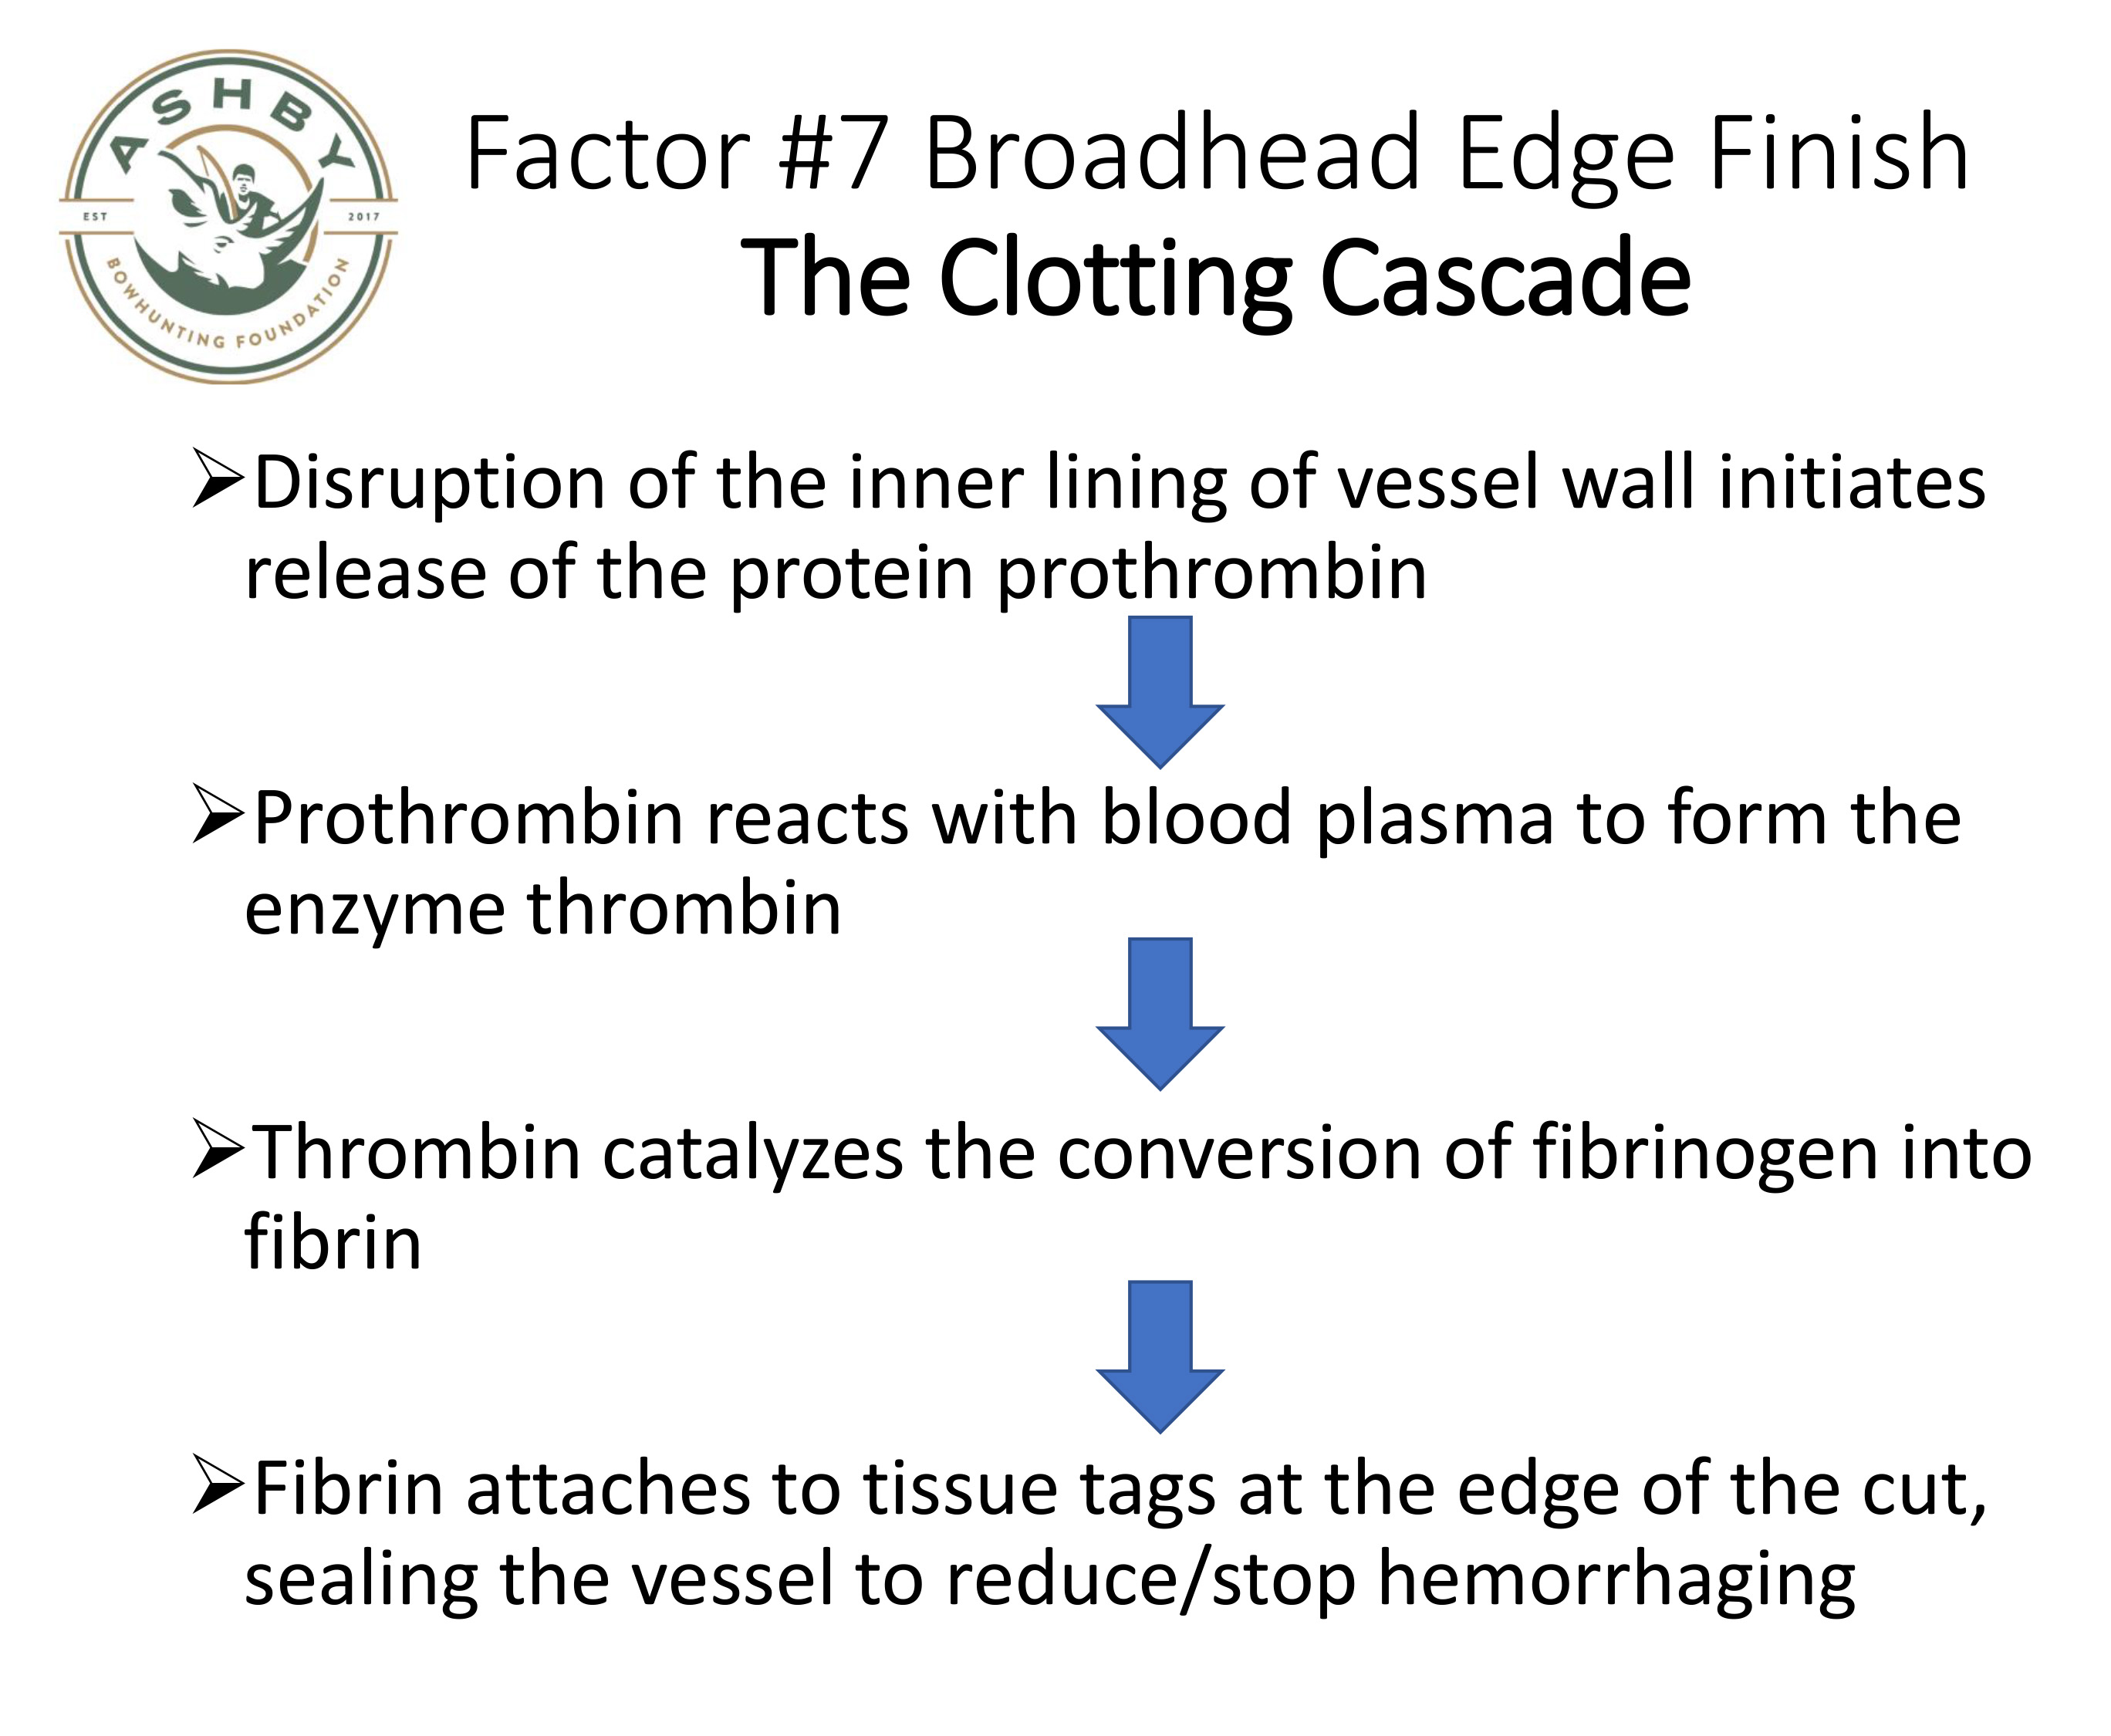
Disruption of these cells is what initiates the blood’s clotting process, known as coagulation. Each vessel-lining cell that’s disrupted releases the protein prothrombin. As prothrombin comes into contact with the blood’s plasma, it is converted to the enzyme thrombin. Thrombin acts as a catalyst, converting fibrinogen in the blood into fibrin: the final chemical reaction required for blood coagulation. Coagulation stops or retards the rate of hemorrhaging—exactly what the bowhunter does not want to happen. The ‘rougher’ a cutting edge is, the more it mangles the tissues, tearing rather than slicing cleanly. That means more vessel-lining cells will be damaged, and the amount of disruption to each damaged cell will be greater.
The more cells damaged, and the greater the damage to each cell, the greater the amount of prothrombin released. The more prothrombin released; the more thrombin produced. The more thrombin there is, the more fibrinogen converted to fibrin. The more fibrin produced, the shorter the clotting time. The shorter the clotting time, the sooner blood loss decreases and/or stops. The sooner the bleeding subsides, the less the total blood loss.
The smoother the cut, the more freely the blood flows. The faster the blood flows, the faster the animal expires, and that’s exactly what we want.
Now let’s go back to the very start. “When all else is equal, there’s absolutely no question which type of edge finish makes a cut that bleeds the longest and most freely; it’s the one made by the thinnest, sharpest, smoothest edge.” There are many who contend that ‘all else’ is not equal; that a ragged, serrated or scalloped edge cuts more tissue than a straight, smooth, sharp edge. The theory expounded is that the irregular edge ‘grabs’ the tissue, ripping and tearing at it, whereas a smooth edge allows the tissue to move along the edge without being cut. Besides the coagulation factors discussed above, there are several flaws to this reasoning. Consider the following.
1. No one who’s ever shaved with one would disagree that a rough-edged razor grabs at both whiskers and tissues, but it certainly doesn’t cut whiskers as effectively as a sharp, smoothly honed razor. And there’s absolutely no doubt that the rough-edged razor is also going to rip many small chunks of tissue from the face, but all those lacerations together will not shed the volume of blood that comes from a single nick with a truly sharp razor.
2. Whenever fibrous tissues, such as skin, tendons, ligaments and fascia are penetrated, testing shows that the irregularities along a roughly finished edge quickly become clogged with strands of tissue fiber. This clogging is present for “Hill type” serrations—the marks left by file sharpening—and micro-serrations left by final sharpening with anything short of an extremely fine-grit steel or stone. In severe cases, this clogging becomes so extensive that the edge is rendered incapable of cutting tissue, even when considerable pressure is applied, but even a few strands of clinging fibers markedly reduce cutting effectiveness. And there’s more.
3. Testing also shows that a smoothly sharpened, honed and stropped edge, free of all serrations and burrs, penetrates tissues easier than one having a rough edge—on all, except passthrough shots, that means a longer wound channel for the smooth edge. A longer wound channel means more vessels and capillaries will be encounters by the broadhead, increasing the opportunity to cut vessels.
A smooth, beard-shaving sharp, honed and stropped edge works best. Its advantage is most pronounced in fibrous tissues. In fibrous tissues it shows a 26 percent advantage over a smoothly filed-sharpened edge, and a 60-plus percent advantage over ‘Hill type’ serrated edges. It’s an advantage available for all broadhead designs, for all arrows. (See 2004 Update, Part 1). The thinnest, smoothest, sharpest edge one can achieve—while still maintaining an edge undamaged during penetration—slices tissues with the greatest efficiency, creating the maximum amount of blood loss, and blood loss is crucial to quick clean kills.
Need more proof? Drop by any butchery shop—assuming you can still locate one in this day of pre-packaged everything—and see how many scalloped edge knives these folk who make their livelihood slicing through tissues have on hand. Neither scalloped nor serrated edges cut tissues as well as a smooth, sharp edge, but they will tear through tissues better than a dull, smooth edge.
Nothing … absolutely nothing … does more for success than fast collapse time and, except for nerve center and locomotion disabling hits, fast collapse time depends on the rate of blood loss. Giving your broadhead an edge for success not only yields faster collapse, better blood trails and shorter recoveries on those fanciful ‘perfect hits,’ it gives an enormous advantage whenever your hit is less than perfect. And it doesn’t hurt to enhance the penetration potential of your arrow setup, improving your odds for a total pass-through hit. You don’t want that arrow shaft hanging around in the wound channel any longer than is absolutely necessary. Preventing shaft pressure on the wound will make the most of the advantages you’ve just gained from your broadhead’s newly optimized cutting edge … and each gives you an edge on success.
Sharpening
For those unfamiliar with the process of sharpening, it can take a steady hand and a bit of patience, but as you can see the benefits are well worth the effort.
The first and most important step is to achieve a consistent edge. The condition of the edge in question will determine how “rough” of an abrasive is initially needed, but the key is to create a consistent burr along the entire cutting edge. This burr confirms that the entire edge has been worked to a consistent point. Take your time with this step as a poor initial edge can be honed and stropped to a mirror finish but will still result in a dull final product.
Once you have achieved the initial burr, it will depend on the style of edge as to how you proceed.
For single bevel edges, the goal is to strip the burr off at as close to a 0-degree angle as possible. Take the same abrasive you just used to hone the edge, lay it flat on the backside of the blade and then “peel” the burr by running the abrasive towards the cutting edge. This prevents the burr from rolling back toward the bevel. Assuming your edge was fully worked and the burr was removed, the edge should now feel sharp and be able to grab your fingernail. From this point, you will simply repeat the process with finer and finer abrasives creating a finer and finer edge. After your final level of honing, lightly stropping the edge will complete the process.
For double bevel edges, there will be a little more effort involved. Once the initial bevel has been worked, and a burr has formed along the entire length you will want to strip the burr matching the bevel angle. Similar to the single bevel, running the abrasive towards the cutting edge to “peel” the burr is desirable. The process will then need to be repeated on the opposite edge. Stripping the second burr will leave a micro burr on the first bevel so you will now need to do matching strokes back and forth. Each time you repeat, use fewer strokes making the remaining burr smaller and smaller and creating a more refined edge where the two bevels meet. Once complete, the edge should feel sharp and be able to grab your fingernail. From this point, you will repeat this process with finer and finer abrasives creating a finer and finer edge. After your final level of honing, lightly stropping, in the same manner, will complete the process.
There you have it. The basic explanation of why smooth, honed, stropped razor-sharp edges increase penetration, allow more massive bleeding, and simply put – outperform all other types of edge finishes.
For the full article “Getting an Edge on Success” by Dr. Ed Ashby visit: https://www.ashbybowhunting.org/ashby-reports
Get to know the authors!
Dr. Ed Ashby
Dr. Ed Ashby, a legend in the archery hunting community, dedicated more than 27 years to the study of arrow performance and broadhead lethality. His involvement in the historic Natal Study helped validate just how lethal archery equipment could be on all sized big game animals and was the main reason that bowhunting was ever legalized in South Africa.
Rob Hummel
With a background in fabrication and engineering, the current standard being pushed by the industry didn’t feel right when Rob first entered the world of archery. Fortunately, after being directed to some of the reports from Dr. Ed Ashby’s field research it all began to align with the mechanics he already understood. Over the last decade, Rob has continued pushing to bring consistent lethality to the forefront of the archery industry.
Todd Smith
For over 40-years, his passion for bowhunting and thirst for knowledge and understanding have driven Todd to learn everything he could about arrows, broadheads, and arrow lethality. Todd is an author, public speaker, and has helped to educate tens of thousands of bowhunters on how to set themselves up for bowhunting successes by using proven – lethal – arrow and broadhead set-ups.

What’s the Ashby Bowhunting Foundation all about?
The Ashby Bowhunting Foundation is dedicated to continuing Dr. Ed Ashby’s research and to ensuring that bowhunters everywhere will have free access to information that will help them build extremely lethal and reliable arrow and broadhead setups for all species of big game. The foundation was started in 2017 to continue the work of Dr. Ed Ashby that has benefited bowhunters worldwide for decades. The Foundation’s goal is to provide information to achieve the highest possible success rate and reduce the wound/non-recovery rate of big game to the lowest level possible. Through a program of continuing research, the Foundation seeks to find the most lethal arrow setups, taking into account all possible hits under real hunting conditions, controlled testing and using freshly culled animals. The results of this testing is always made available to the global bowhunting community free of cost, utilizing multi-media outlets for information and test results. The Ashby Bowhunting Foundation is excited for this opportunity to partner with DSC and to share these articles with all DSC members so they can make informed decisions of whether to change to arrow and broadhead combinations that will increase their odds of bowhunting success under all situations and conditions. For more information please visit: https://www.biggame.org/ashby-bowhunting-foundation

